

How to Find Why Your Garage Door Opener Light Keeps Flashing
If your garage door opener light keeps flashing, count the flashes and note when they occur. The pattern may point to a sensor issue, wiring fault or motor problem, but codes vary by manufacturer and model. For example, four flashes can indicate a safety sensor issue, while five may signal an overheated opener motor.
A door that won’t close and a flashing light can be frustrating, especially when the cause isn’t clear. Before assuming the opener needs repair, try a few straightforward checks.
This guide explains what common light patterns may mean and how to check the safety sensors for obstructions, dirt and misalignment. It also covers what to do if the light keeps flashing and when to stop troubleshooting and arrange professional help.
Table of Contents
Safety sensor obstruction and alignment
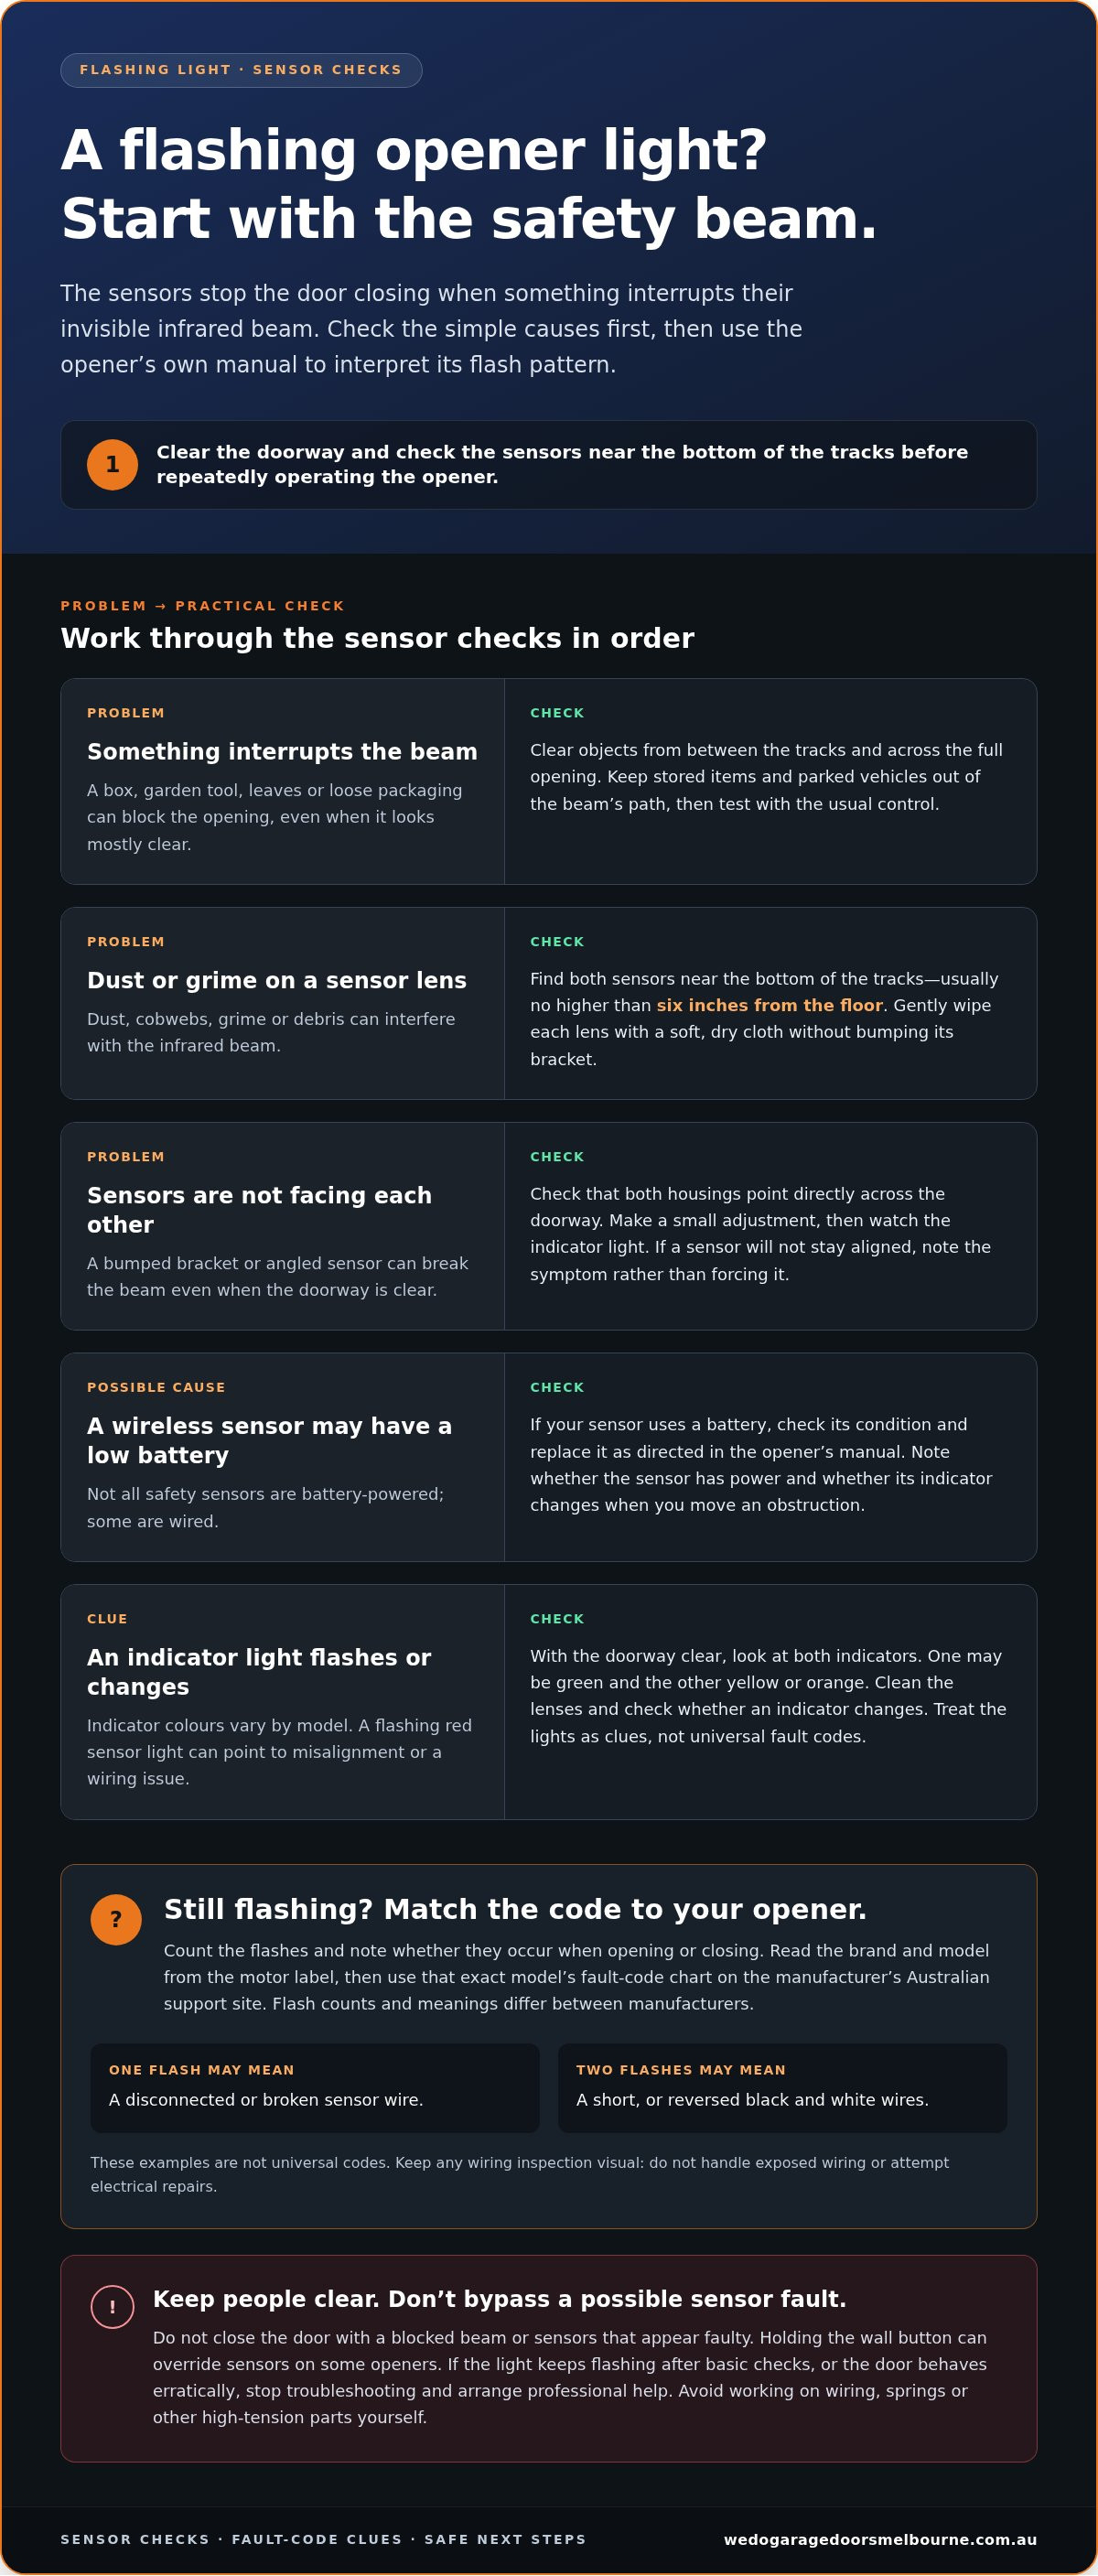
Start with the safety sensors, usually mounted near the floor at the base of the garage door tracks. They send an invisible infrared beam across the doorway. If something interrupts the beam, the opener may stop the door from closing.
Clear the door’s path. Check between the tracks and across the full opening for anything blocking the door or sensor beam. A box, garden tool, leaves or loose packaging can interrupt the beam even when the doorway looks mostly clear. Move objects well away from the opening, then try closing the door with its usual control. If it still won’t close, check the sensors rather than repeatedly operating the opener.
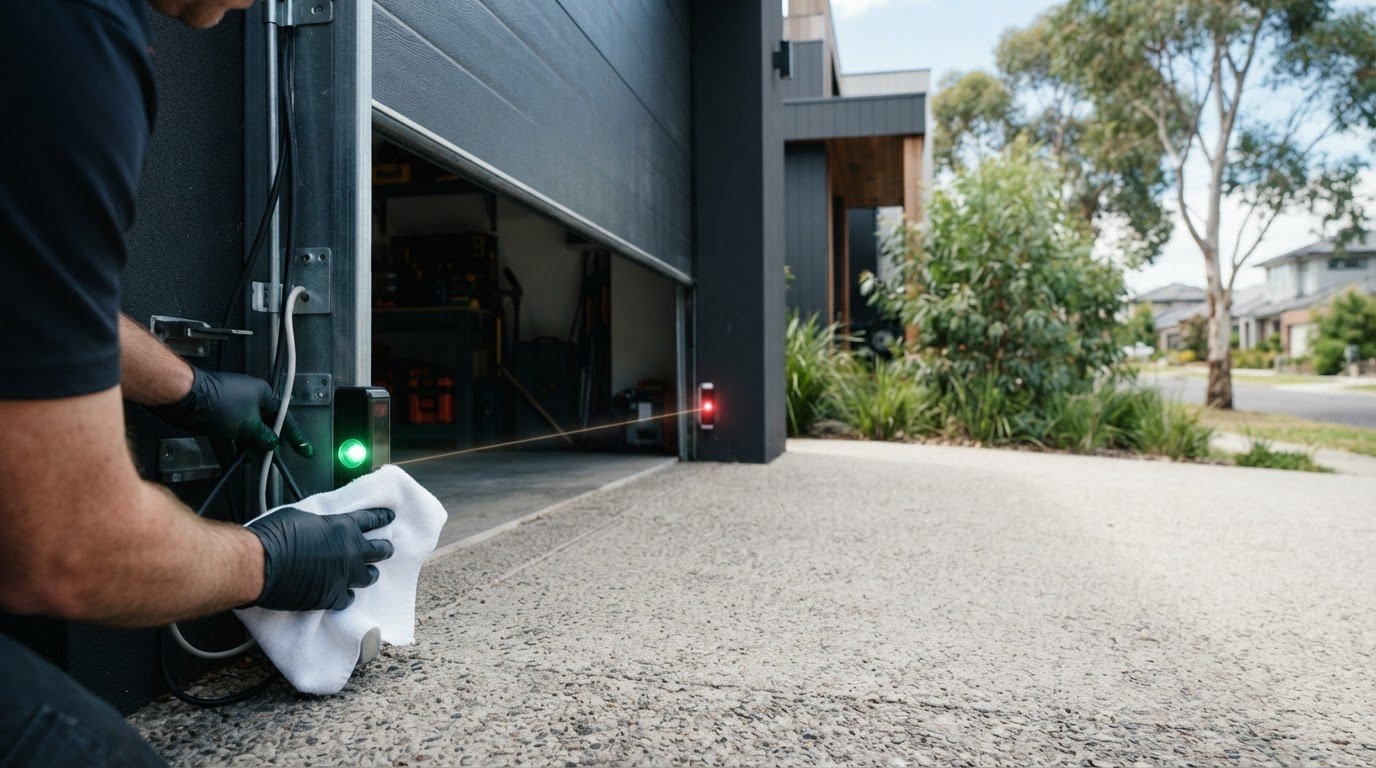
Find and clean both sensors. Check near the bottom of each track, where safety sensors are usually installed, no higher than six inches from the floor. Dust, cobwebs, grime or debris on a lens can interfere with the beam. Gently wipe each lens with a soft, dry cloth without bumping its bracket. Check that nothing, including stored items or a parked vehicle, crosses the beam’s path.
Check the beam’s line of sight. The two sensors need to face each other across the doorway so the infrared beam can travel between them. Look for a shifted bracket, a sensor pointing towards the floor or one angled away from the other. Make a small adjustment to the sensor housing so it points directly across the opening, then test the door. If the sensor moves again or won’t stay aligned, the bracket may need attention.
Consider a low battery. A low battery can cause trouble with a wireless garage door safety sensor. If your sensor uses a battery, check its condition and replace it as directed in the opener’s manual. Not all sensors are battery-powered; some are wired. If the beam still appears interrupted after you clear and clean it, note whether the sensor has power and whether its indicator changes when you move an obstruction.
Retest with the opening clear. Stand clear of the door, remove any remaining objects and test with the usual wall control or remote. Watch whether the door begins closing, stops or reverses. If the infrared beam breaks while the door is closing, the safety sensors should trigger the door to reverse. If the opener light keeps flashing despite a clear path, clean lenses and aligned sensors, the cause may lie elsewhere.
What Does Your Garage Door Light Pattern Mean?
Don’t close the door with a blocked beam or sensors that appear faulty. Holding the wall button can override sensors on some openers. Find the manual using the opener’s brand and model label, then match it to the fault-code chart on the Australian manufacturer’s support site.
Check the sensor indicator lights
With the garage doorway clear, check both sensor indicators. One may show a green light and the other a yellow or orange light, depending on the model. A flashing red sensor light can point to misalignment or a wiring issue. Dust on a lens can also interfere with the beam, so gently clean it and see whether the indicator changes. Treat indicator lights as clues, not universal fault codes.
Inspect the sensor wiring
Look along the visible sensor wires for a loose connection, damaged insulation or a wire pulled away from its fixing. On some openers, one flash can indicate a disconnected or broken sensor wire, while two flashes can indicate a short or reversed black and white wires. Patterns vary by opener, so use the matching manual. Keep your inspection visual: don’t handle exposed wiring or attempt electrical repairs, which can create an electrocution risk.
Align the photo-eye sensors
Check that both photo-eye sensors point directly towards each other across the doorway. A bumped bracket or angled sensor can break the beam even when the path looks clear. Make a small adjustment to the sensor housing, then watch its indicator light. If the light steadies, test the door with its normal control while standing clear. If it keeps blinking or the bracket won’t hold position, note the symptom rather than forcing the sensor or door.
Find the manual and fault-code chart
Read the brand and model from the label on the opener motor, then search that exact information on the manufacturer’s Australian support site. Use the chart for that model, not a code list for another opener: flash counts and meanings differ between manufacturers. Record how many flashes appear and whether they happen when opening or closing. That detail helps you compare the symptom with the correct entry and distinguish a sensor warning from another fault.
Safety sensor misalignment and troubleshooting
Follow the checks in order, starting with the doorway and moving on to the controls. Change one thing at a time so you can identify what affects the opener.
Don’t rely on automatic closing while the light signals a possible sensor fault. Keep people and objects clear, and don’t hold the wall button down to bypass the sensors, as some openers allow this override.
Clear blocked safety sensorsCheck the sensor beam’s path for objects, dust or debris. Move anything stored near the doorway, such as a bin or sports gear, then wipe each sensor lens with a soft cloth. Look for cobwebs or dirt as well. Test the opener after clearing the path. If the light still flashes, move to the next check instead of repeatedly trying to close the door.
Clean and align the safety sensorsLook at both sensor housings and check whether they point directly towards each other. A bumped bracket can angle one sensor away from the other, interrupting the beam even when the doorway is clear. Gently adjust the housing without pulling its wires, then watch the indicator lights. Test closing with the usual control. If a sensor won’t stay in position or its indicator remains unstable, stop adjusting it and note what you observed.
Check for sunlight interferenceNotice whether direct sunlight reaches a sensor when the problem appears, such as on a bright afternoon. Sunlight can interfere with some photo-eye sensors, so compare the indicator lights at different times of day. Keep the beam area clear during each check, and don’t cover a sensor or alter its wiring to block the light. If the fault only appears in direct sun, record that pattern for troubleshooting.
Check the safety lock setting. Look at the wall control for a lock or vacation setting, then compare its indicator with the manual for your opener model. A lock setting can affect remote operation, while a sensor fault can prevent safe closing; these are different symptoms. Follow the model’s instructions to turn the lock off if it’s engaged, then test with the doorway clear.
If the opener light keeps flashing after these checks, note when it happens and what the indicators show. Stop testing if the door reverses unexpectedly or the sensors appear damaged. A professional can assess the fault without bypassing the safety system.
Why is my garage door opener blinking and clicking rapidly?
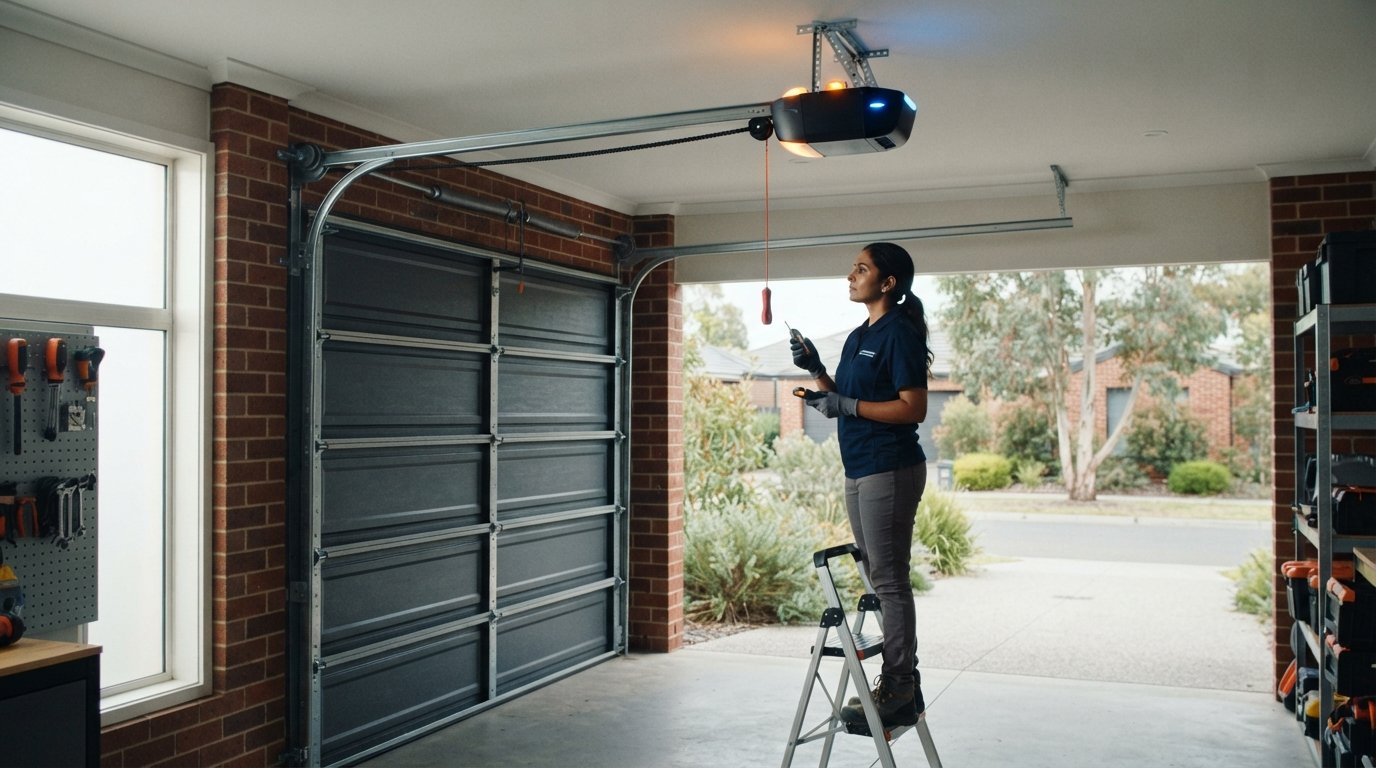
Count the flashes, note whether the door is opening or closing, and compare the pattern with your opener manual. Rapid blinking and clicking can point to a sensor fault or an opener that has stalled.
Record the pattern before troubleshooting. Watch the opener light during one normal attempt to close the door and count each group of flashes. Ten rapid blinks while closing can indicate a safety sensor problem. Note whether clicking happens at the same time and whether the door starts moving, stops or reverses. These details can help distinguish a sensor warning from a motor or travel problem. Keep clear of the moving door while observing it.
Compare the count with the correct manual. Use the opener’s brand and model to find its fault-code chart. Flash patterns aren’t universal, so don’t assume a code means the same thing across manufacturers. For example, a B&D opener flashes nine times when overloaded or stalled. Check the chart before interpreting that pattern, and note any visible obstruction or change in how the door moves.
Stop repeated attempts if the opener stalls. If the door starts moving, then stops while the light flashes and clicks, don’t keep pressing the remote. Repeated operation won’t correct an overload or a stalled door. Check only for an obvious obstruction in the door’s path, without touching springs, cables or electrical components. A door that remains stuck, moves unevenly or makes unusual sounds needs professional assessment.
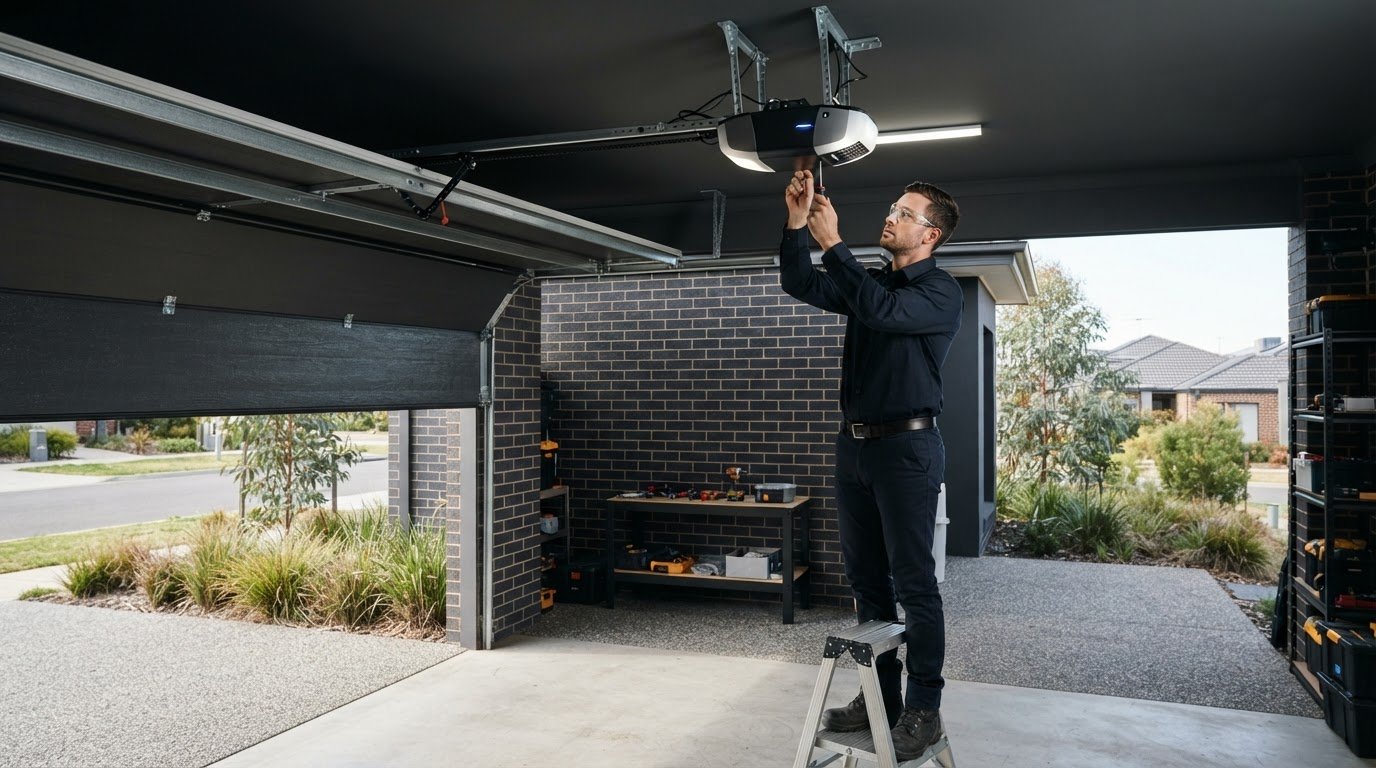
Arrange trained help for wiring or mechanical faults. Garage door servicing and repairs should be carried out by a trained professional. Springs are under extreme tension; attempting a DIY fix can cause serious injury. Electrical components can also be dangerous without training. Don’t open the motor casing, splice wires or attempt spring repairs. Incorrect electrical wiring work can create an electrocution risk. If the fault chart points to wiring or the door appears unbalanced, stop using the opener and arrange a professional repair.
Keep servicing on your maintenance plan. B&D recommends servicing a garage door every year or so. Regular servicing helps the opener continue operating at optimal capacity and can identify developing faults before the door stops working. A professional can inspect the opener and door operation, then address the cause of repeated blinking or clicking. Record the flash count and symptoms before the appointment, including whether the issue occurs during opening, closing or both.
Common causes of a flashing garage door opener light
Use the flash count as a clue, not a diagnosis on its own. Opener codes vary by manufacturer, and the same count can point to different faults on different models.
Match four flashes to a sensor check. Four flashes can indicate a safety sensor issue, such as an obstruction or misalignment. Check whether anything blocks the beam and whether both sensors face each other. If the path is clear but the light continues flashing, note the count and compare it with the opener’s model-specific fault chart. This helps distinguish a sensor warning from a motor-related issue.
Treat five flashes as a broader motor warning. Five fast flashes may indicate overcurrent or motor resistance, while five flashes may also signal an overheated motor. The meaning depends on the opener model, so don’t assume the light identifies one specific fault. Check the manual’s chart, then note whether the door moves, stops or fails to start. These details help narrow down the cause without opening the motor housing.
Allow an overheated motor to cool. If the fault chart or symptoms point to overheating, leave the opener unused for about 15 minutes before trying again. Repeated operation during that period can add strain rather than solve the cause. After cooling, make one normal attempt and observe the light and door movement. If five flashes return or the opener stops again, stop testing and arrange an assessment.
Separate a sensor fault from resistance. A sensor problem commonly affects closing, while motor resistance may show up as a door that struggles, stalls or won’t move as expected. These are clues, not universal rules, so compare them with the manual for your model. Don’t force a door that feels unusually heavy or moves unevenly. Keep clear of springs and electrical parts while recording what happens.
Use the pattern to decide your next step. Write down the flash count, whether it occurs during opening or closing, and what the door does. For example, record “four flashes, stops during closing” rather than simply “light blinking”. If the cause remains unclear or the code points to motor resistance, get help diagnosing opener faults instead of repeatedly operating the door.
These blink patterns are useful starting points: 4 flashes can indicate a safety sensor issue, while 5 fast flashes may indicate overcurrent or motor resistance.
We Do Garage Doors: Garage door repairs
We Do Garage Doors can help when sensor checks don’t resolve a flashing opener light or the door still won’t operate correctly. Its garage door repair service can diagnose faults that need hands-on attention, and motor replacement may be suitable if the opener motor is the problem. A damaged spring also needs professional attention because springs are under extreme tension and a DIY fix can cause serious injury. If the door works but you want connected control, smart door control can be retrofitted to the existing door and motor.
Before arranging help, note the opener’s flash pattern, when it occurs and how the door behaves. This gives a clearer starting point for diagnosing the issue. Avoid further testing if the door is stuck, uneven or making unusual sounds.
Contact We Do Garage Doors to discuss a garage door fault and the next step.
Take the next step towards a smoothly operating door
A flashing light can disrupt your routine, but a clear record of the fault makes the next step easier. If your garage door opener light keeps flashing, note the opener’s model, the light pattern and what the door does when you use the control. This gives a repair professional a useful starting point without requiring you to open the motor or handle high-tension parts.
We Do Garage Doors can help with garage door repairs, motor replacement and spring replacement when a fault needs professional attention. The right repair depends on what’s preventing the door from operating as it should, so share the symptoms you’ve observed when you get in touch.
Contact We Do Garage Doors today to discuss the issue and take a practical next step. With the fault details ready, you can move towards getting your garage door working reliably again.
Frequently Asked Questions
What does a flashing light on a garage door opener mean?
A flashing light signals that the opener has detected a fault or operating condition, but the flash count alone doesn’t identify it universally. If the garage door opener light keeps flashing, note whether it happens during opening, closing or both, then compare the pattern with the model’s manual. A sensor warning and a motor fault call for different checks, so record what the door does as well.
How do flashing light patterns differ by garage door opener brand and model?
Flash codes are manufacturer- and model-specific, so the same count can mean different things across openers. For example, two flashes on a Genie opener can indicate misaligned safety sensors, while another model may use that pattern differently. Find the brand and model on the opener, then use its matching fault-code chart. Include whether the door was opening or closing when the pattern appeared.
How can I check whether the garage door safety sensors are blocked or misaligned?
With the doorway clear, inspect both sensors near the bottom of the tracks and check whether their indicator lights appear steady. Look for dust, an object crossing the beam or a housing that points away from its partner. Clean the lenses gently and make a small alignment adjustment if needed. If the indicators remain unstable, don’t handle wiring; record what changes when you clear the path.
Could a flashing opener light indicate a remote, wall switch, or wiring problem?
The issue may relate to a control or wiring fault, but compare how the opener responds to each control. If the wall switch operates the door but the remote doesn’t, the issue may be isolated to the remote or its connection. If neither control works, note the opener’s light pattern and inspect only visible wiring for damage. Don’t touch exposed wires or attempt electrical repairs.
How do I reset or reprogram a garage door opener after its light flashes?
Use the opener’s manual for the reset method, since controls vary by model. One common reset is unplugging the opener for about 30 seconds, then reconnecting it. To pair a remote on some systems, press the opener’s LEARN button, then press the remote’s LEARN button. A reset may not fix the underlying fault, so record the light code first and check the model-specific instructions.
When should I call a garage door technician instead of troubleshooting myself?
Arrange professional help if the door stays stuck, moves unevenly, repeatedly stalls or shows a fault after basic checks. Stop if troubleshooting would involve electrical wiring, the motor casing or a spring: these components can be dangerous without training, and incorrect wiring work can risk electrocution. For homeowners in Melbourne and surrounding northern suburbs, We Do Garage Doors offers residential garage door repairs for faults that need hands-on attention.
Comments